Saturday 17 August 2013

Benefit Watt's Up Highlighter

Spring is near in Australia and new beauty trends are coming out. A big beauty trend this spring is dewy skin, illuminated cheekbones and natural eyes.
Benefit's Watt's Up Cream Highlighter is a beautiful product which fits in with the trends this spring like a glove.
I will 100% be wearing this quite a lot this spring (and summer).


As  you can see, the packaging of this product is fun and creative, just like the rest of Benefit's packaging. It is in a plastic tube.
This retails for $30 in the USA and $55 in Australia. You can buy this from any Benefit counter or selected department stores.


There are two sides to this product, the top of it is the cream highlighter, the other side is a sponge applicator. It is suggested that you first apply the product on your face, and then blend it out with the sponge on the other side, but I personally prefer to use my fingers to blend it in because I find the sponge doesn't do as good of job.


The highlighter itself is a light champagne colour with gold undertones in it. This product blends really easily and works really well. This highlighter would complement tan/olive skin tones really nicely.


Benefit Watt's Up Highlighter, unblended
Taken with flash


Benefit Watt's Up Highlighter, blended
Taken with flash

When applying this product, you have to be careful not to put on too much because you may start looking shiny and too shimmery, and it could look unnatural. 
I would suggest you to apply this product above your cheekbones, done the bridge of your nose (only slightly) and a small amount on your cupids bow. 

 Benefit Watt's Up Highlighter, blended
Taken without flash

Overall, this product is lovely. I would definitely recommend it.

xo, jest

Friday 16 August 2013

Simple Everyday Makeup

When I go out in the daytime, I like to keep my makeup simple and fresh. My trick to a simple look is "less is more".
Try not to use too many products because it may look a bit heavy.


These are my favourite products for a fresh look:

Left to right: Mac Soft Brown Eyeshadow, Mac Paintpot in Painterly, Benefit Hoola Bronzer, Garnier Anti Dark Circles Roller Ball Concealer, Mac Creme d'Nude Lipstick, Maybelline Fit Me Concealer, Stila All Over Shimmer Kitten Duo, Urban Decay Naked Basics, YSL Volume Effet Faux Cils Mascara in Black & Tarte Lights Camera Lashes Mascara in Black

To create this look:

Firstly apply your under eye concealer, to erase any darkness under your eyes. Then apply your regular concealer to any imperfections. 
A concealer I find great under my eyes is the Garnier Anti Dark Circles Roller Ball Concealer, (I believe I am in the shade light-medium). My dark circles aren't terrible, so this light coverage concealer works good for me. The consistency is quite runny and feels light under the eyes. I think it also has caffeine in it, so it really awakens your eyes. 
Next apply a thicker concealer to any imperfections or blemishes. I have really been enjoying Maybelline's Fit Me Concealer (I am in the colour Sand). It has a thick consistency, but not too thick that it feels heavy. It works great to cover up spots and blemishes or any redness.
If you want, you can set your concealer with a powder, but I usually skip this step.


Maybelline Fit Me Concealer, Garnier Anti Dark Circles Roller Ball Concealer

Next apply a matte bronzer around the edges of your face, where the sun would naturally hit (cheekbones, temples, jawline & neck). I have been loving Benefit Hoola Bronzer, it the perfect colour for me, not muddy and not too orange. The texture is smooth. Overall this product is excellent, and suits many people.
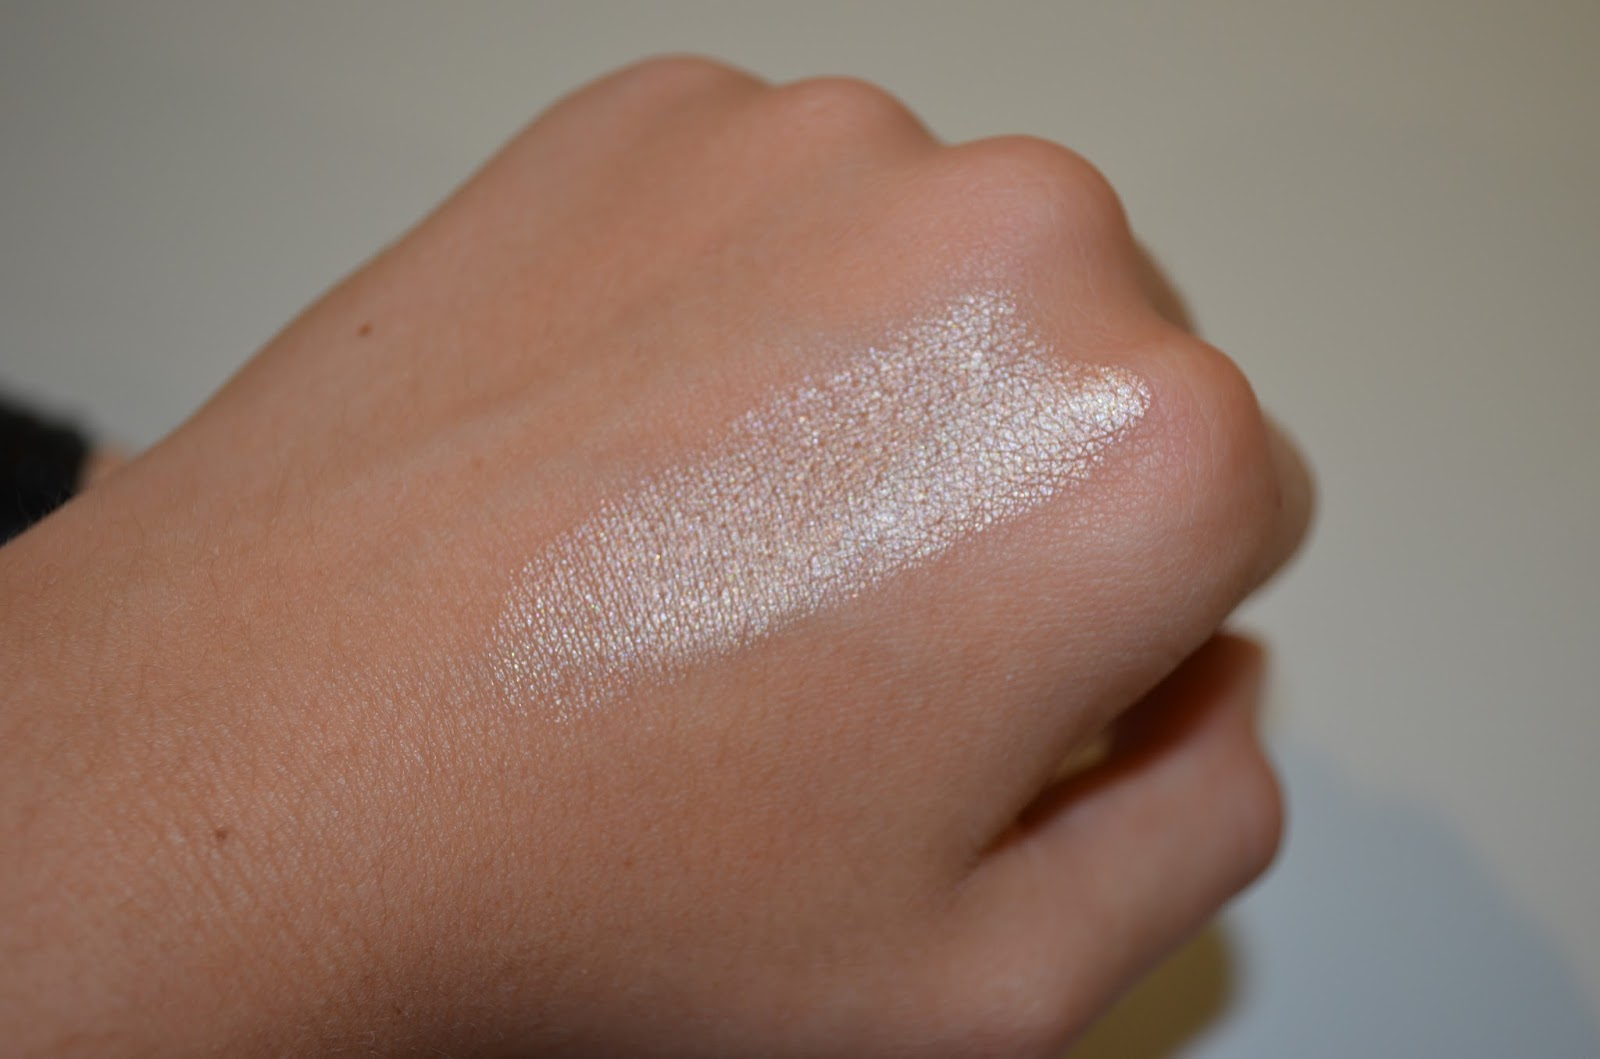
After bronzer, apply a bit of your favourite illuminator/highlighter. You can choose whether to use a powder one or cream/liquid one. If you want a matte look, use a powder, if you a dewy finish, use a cream/liquid highlighter. A powder one which I adore is Stila All Over Shimmer Kitten Duo. It looks lovely on the face and suits many skin colours. It comes with 2 shades, so people with deeper or paler skin colours would suit this product. 


Stila All Over Shimmer Kitten Duo, Benefit Hoola Bronzer
Taken with flash

Left to right: Stila All Over Shimmer Kitten Duo, lighter colour
Stila All Over Shimmer Kitten Duo, bronze colour
Benefit Hoola Bronzer
Taken Without Flash

Next step is eyes, I have been keeping my eye look very simple lately. 
Firstly apply a base, I love Mac Paintpot in Painterly. It has a thick, creamy consistency which makes your eyeshadows stay on all day without creasing and creates a perfect base for your eyeshadows. It also erases any visible redness or veins on your eyelids. It has a light pinky colour.
Then apply a medium brown colour to your crease. I love using Mac Soft Brown eyeshadow, it is a perfect crease colour. 
After that, apply a bit of Venus from Urban Decay Naked Basics Palette on your inner corner of your eye. This brightens up your eye and makes you look more awake. 
Then apply Faint from that same palette under your lower lash line. This will darken the look, intensify and define the eyes. 

Mac Soft Brown Eyeshadow, Mac Paintpot in Painterly, Urban Decay Naked Basics Palette


Mac Soft Brown Eyeshadow, Mac Paintpot in Painterly
Taken with flash


Urban Decay Naked Basics Palette
Taken with flash

Left to right: Mac Paintpot in Painterly, Mac Soft Brown Eyeshadow, Venus from Urban Decay Naked Basics Palette, Faint from Urban Decay Naked Basics Palette
Taken without flash

Next apply two coats of mascara to your upper and lower lashes. My all time favourite mascara is the Tarte Lights Camera Lashes Mascara in Black, this mascara is amazing. It adds volume and length to my eyelashes and doesn't clump at all. I apply one coat of this.
Then I apply one coat of the YSL Volume Effet Faux Cils Mascara in Black. Honestly this mascara is not that great, you can certainly find better mascaras from the drugstore or high end brands instead of splurging on this. It makes your lashes look very natural instead of dramatic and I like my lashes to look as dramatic as can be. I find it only works well for me as a second coat after I have applied a coat of another mascara.


YSL Volume Effet Faux Cils Mascara in Black, Tarte Lights Camera Lashes Mascara in Black


The final step of this look is to apply a nude lipstick. I usually go for pinky/beige nudes instead of browns or yellow toned nudes.
This nude lipstick is my absolute favourite at the moment. It is Mac Creme d'Nude Lipstick. It has a Cremesheen finish to it, so it is very pigmented and moisturising on the lips. It also has a sheen to the lips, which is gorgeous.

Mac Creme d'Nude Lipstick
Taken with flash

Mac Creme d'Nude Lipstick Swatch 
Taken without flash


Sorry for the long post today, but hopefully it was meaningful. 

Thanks for reading!

xo, jest 

Wednesday 14 August 2013

Mac Rebel Lipstick - What to Pair it With

Since it is Winter in Australia, it's that time of the year to get your darker shades of makeup, nail polish and outfits out. Lipstick is a great way to make yourself stand out and look more put together.
A big trend this Winter (lipstick wise) is dark burgundies, plums, purples and reds. A popular lipstick this season is "Rebel" by Mac. I have seen many reviews on this product and most of them say this lipstick is right up with their favourites.
I don't currently own this lipstick, although it is on my wishlist.

Mac "Rebel" Lipstick
Photo is not mine

As you can see, "Rebel" is a dark purple/red colour with a hint of plum. It has a satin finish, so it is extremely pigmented and gives the lips a smooth look. It has a slight sheen to it and makes the lips look not completely matte, dewy or shimmery. Satin is one of my favourite types of finishes.


Mac "Rebel" Lipstick Swatch
Photo is not mine

Mac Lipsticks retail for $15 in the USA and $36 in Australia. You can purchase them from Mac counters or selected department stores.

Since "Rebel" lipstick from Mac is such a bold colour, you don't want to pair this with a heavy eye.
I would suggest putting a light eyeshadow colour which is close to your skin colour, such as "Brule" from Mac and apply it all over the lid.
Then take a medium brown eyeshadow such as "Soft Brown" from Mac and work it into the crease. Take a darker brown colour such as Mac "Kid" or "Espresso", which ever you prefer and apply that directly under the lower lash line. Try not to take this colour too close to the inner corner of your eye, that will look too heavy.
If you want, you can apply a shimmery white/yellow eyeshadow to the inner corner of the eye such as Mac "Nylon", to make you appear more awake and lively. This step is optional.
Once you have done this, apply some mascara to your top and lower lashes, and fill in your brows if you wish.
Even out your complexion a bit with foundation, concealer or powder, whatever you normally do.
Apply a small amount of bronzer to the edges of your face, where the sun would naturally hit (cheekbones, temples, jawline and neck).
Apply a bit of highlighter, such as Mac "Soft and Gentle" Mineralise Skin Finish, or "High Beam" from Benefit above your cheekbones to give you a fresh and glowy look.
Add the lipstick, and your done. 
This look is perfect for day time or evening wear. 

Thank you so much for reading, I hope this helps. 

xo, jest 

Mac Gingerly Blush

I absolutely love blush. It can really make your complexion stand out and look more defined. There are so many varieties of blushes you can choose from, which ranges from pinks, reds, oranges, corals, browns and deeper purple/berry toned blushes.
This particular blush, "Gingerly" from Mac is one of my personal favourites. It gives my face a healthy, youthful glow.


Mac "Gingerly" Blush
Taken without flash

I would describe "Gingerly" as a brown based blush with a hint of orange in it, but the orange is hardly noticeable. The blush is a sheertone finish, so it comes up quite sheer and light on the cheeks. It gives a lovely flush to the face.
I mainly wear this blush in the Winter and Autumn (Fall) seasons because I tend to be a bit pale in these times of the year and it shows up better on pale skin. 


Mac "Gingerly" Blush
Taken with flash


Mac blushes are available from all Mac counters or you can find them at department stores. Mac blushes retail for $21 in the USA and $41 in Australia. 


Swatch of Mac "Gingerly" Blush
Taken with no flash 


Since I am more tan at the moment, the swatch doesn't show up as well as it does on paler skin. As you can see, on yellow based and olive toned skin this blush doesn't look very pigmented and it hardly shows up. Although since this blush has a sheertone finish, it isn't supposed to be highly pigmented. If you are interested in a more pigmented blush, have a look at satin finish blushes.
I would recommend this blush more towards people with paler skin or an alternative is to wear this blush in the Winter/Autumn seasons.

Have a great week.

xo, jest